
Every robot needs a brain. On most robots that's a microcontroller — a small computer that runs your code: it reads the controls, decides what the robot should do, and powers the motors to match, dozens of times a second.
There are three ways to build it:
| Alfredo NoU3 | Solder yourself | RC | |
|---|---|---|---|
| Coding | Arduino | Arduino | None |
| Soldering | None | Lots | Little to none |
| Cost | $25–$30 | ~$15–$20 | $60+ |
| Autonomous possible | Yes | Yes | No |
Alfredo NoU3
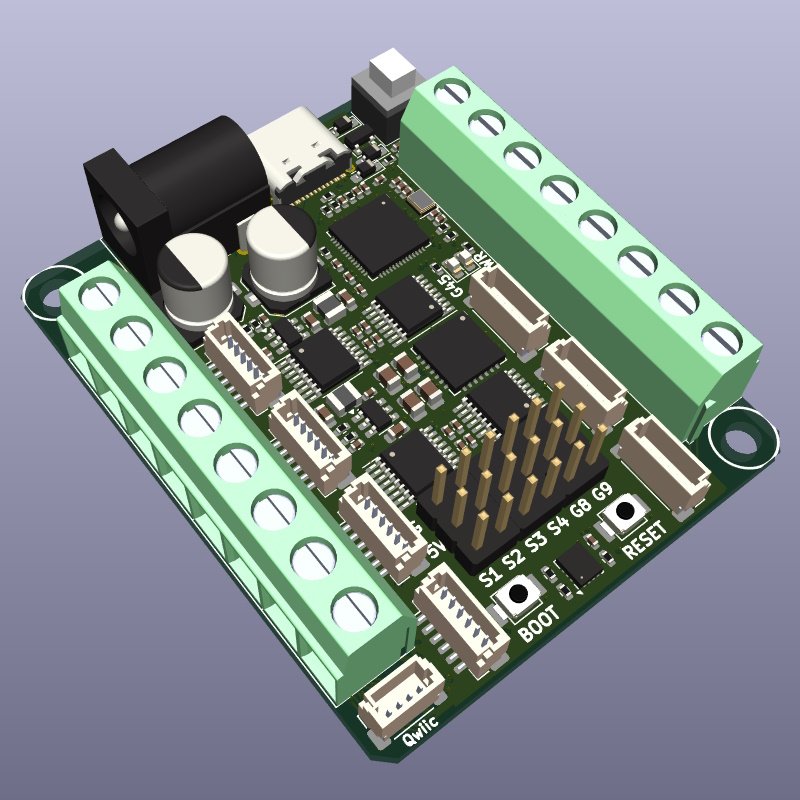
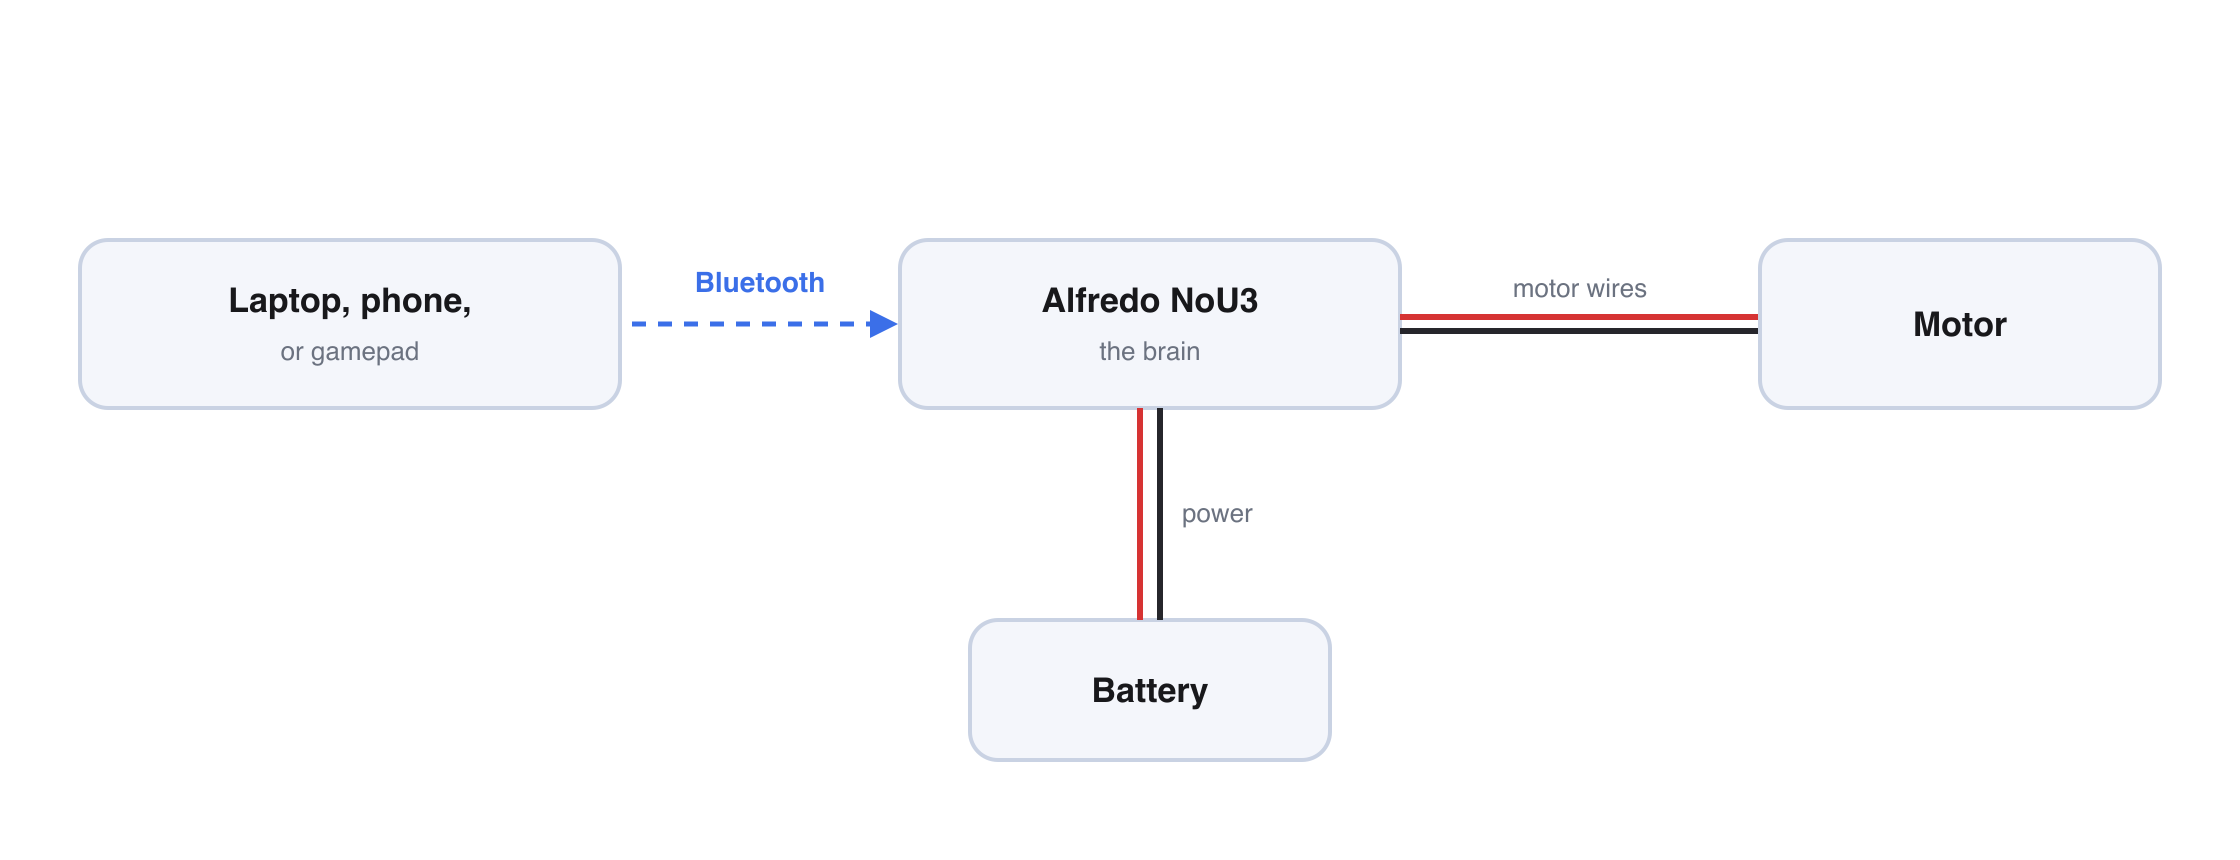
An all-in-one robot controller: the microcontroller and motor drivers live on one small board. Plug motors into the screw terminals, plug in a battery, upload Arduino code over USB, and drive over Bluetooth from a laptop, phone, or game controller. Same role as a VEX Cortex, V5 Brain, or roboRIO.
| ✅ Pros | ❌ Cons |
|---|---|
| No soldering — motors go into screw terminals | Costs more than bare parts |
| Real code, so autonomous is possible | You'll be learning some programming |
| Bluetooth driving built in | If the board dies, you replace all of it |
| 8 motor + 4 servo ports to grow into |
Parts list
Alfredo NoU3×1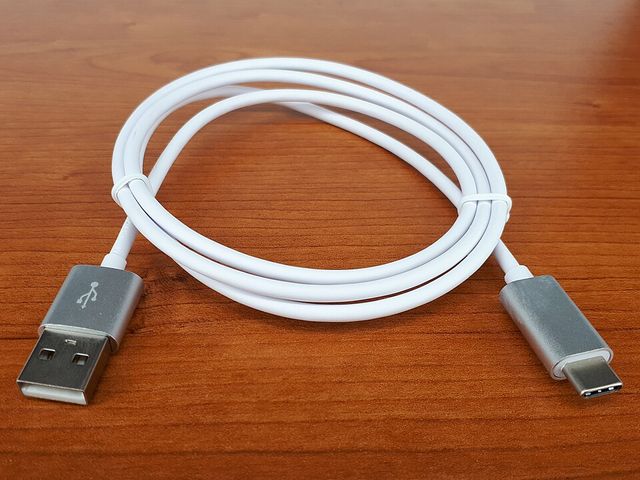 USB-C data cable×1
Plus a battery — see Battery options. Then Making a motor move takes you from unboxing to driving.
Solder yourself
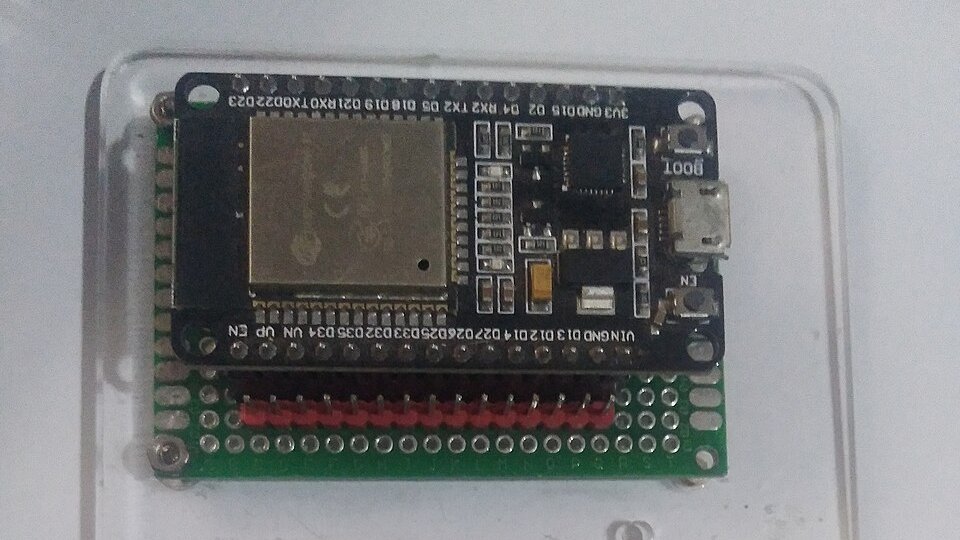
Build what the NoU3 gives you pre-made: a bare microcontroller (like an ESP32 dev board) plus a separate motor driver, wired and soldered together by hand. You write the same Arduino code — the hardware between your code and the motors is just yours.
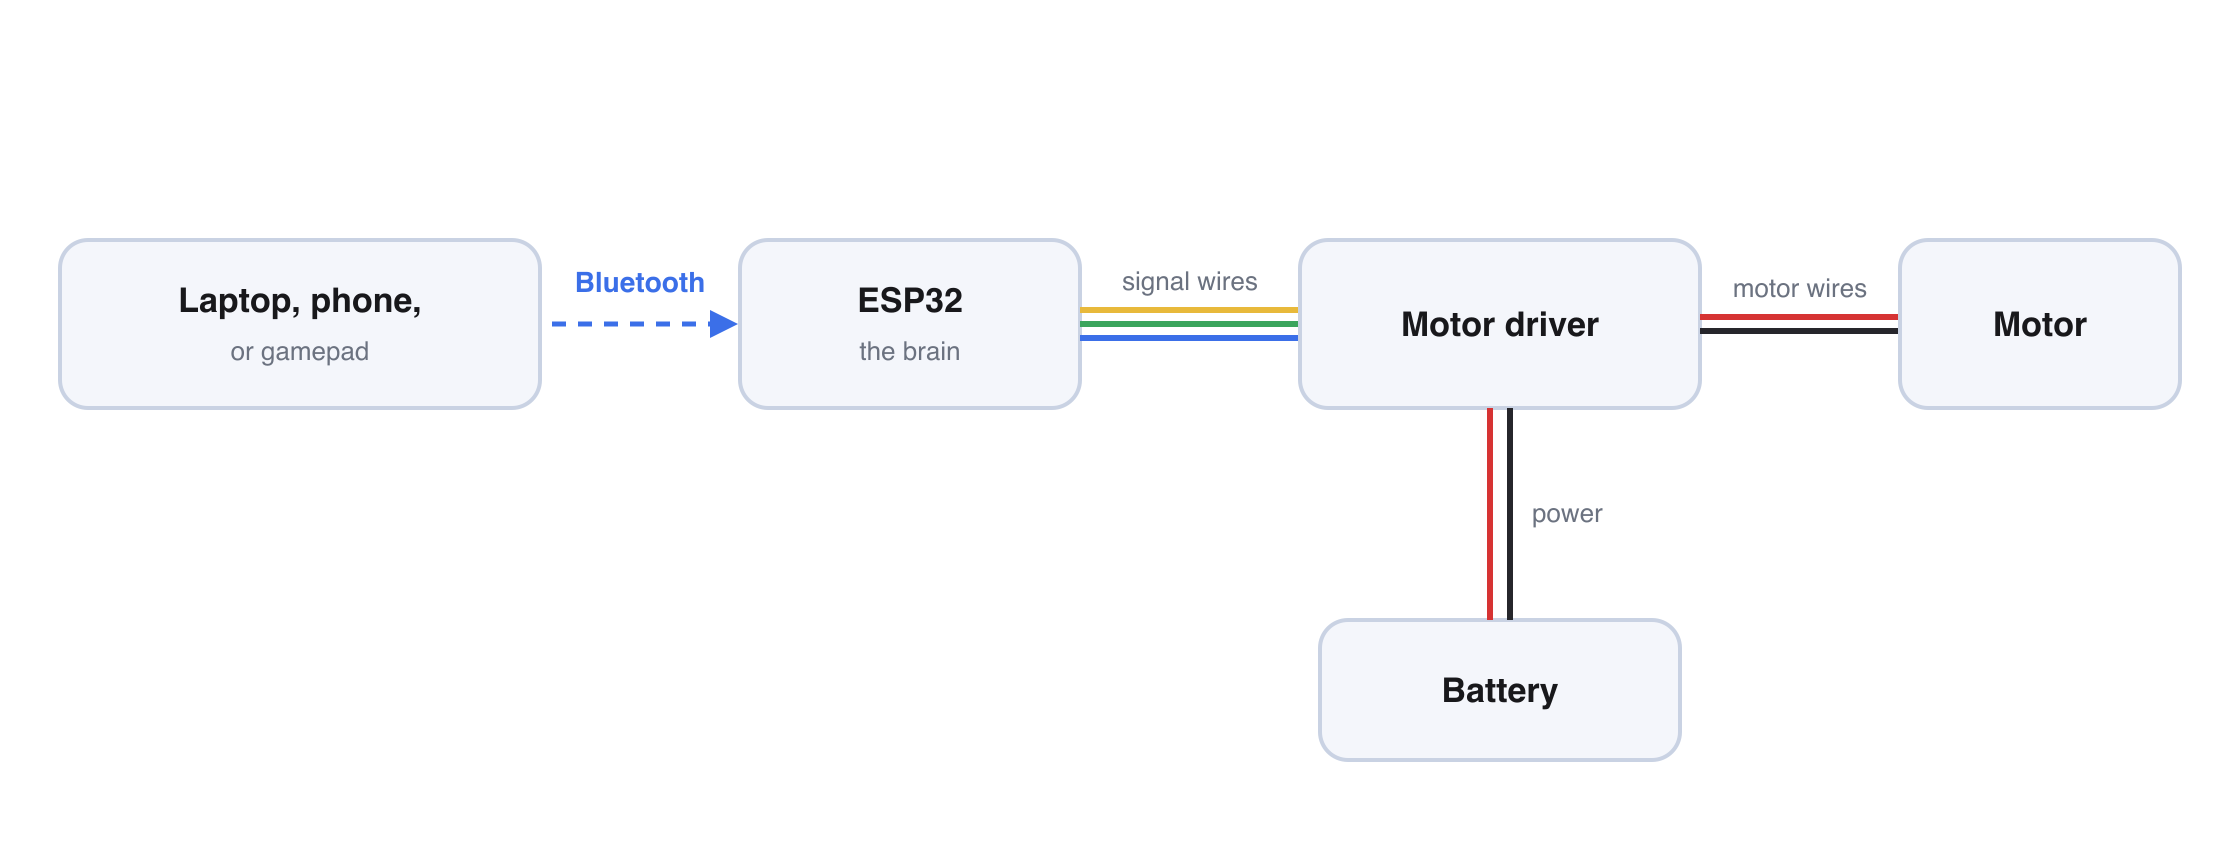
| ✅ Pros | ❌ Cons |
|---|---|
| Cheapest parts list | You need a soldering iron and patience |
| You learn real electronics | A bad solder joint looks just like a code bug |
| Any part you want, any layout | Slowest path to a moving robot |
Parts list
ESP32 dev board×1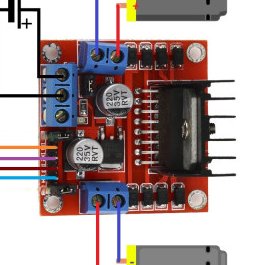 Motor driver (DRV8833 or L298N)×1
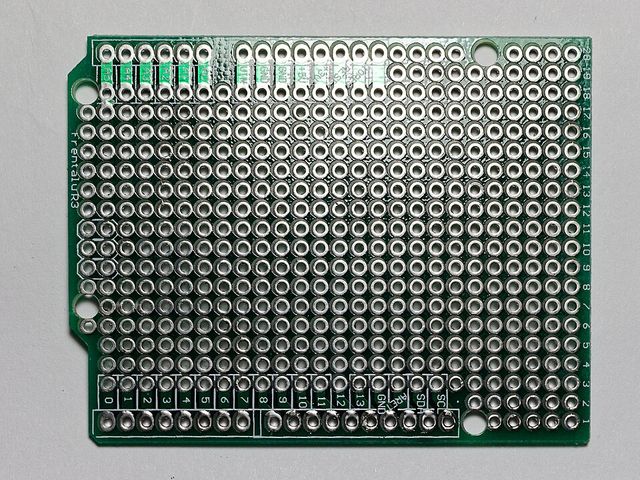 Perfboard + hookup wire×1
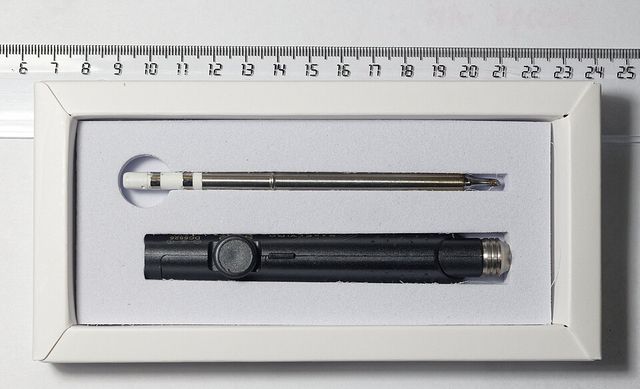 Soldering iron kit×1
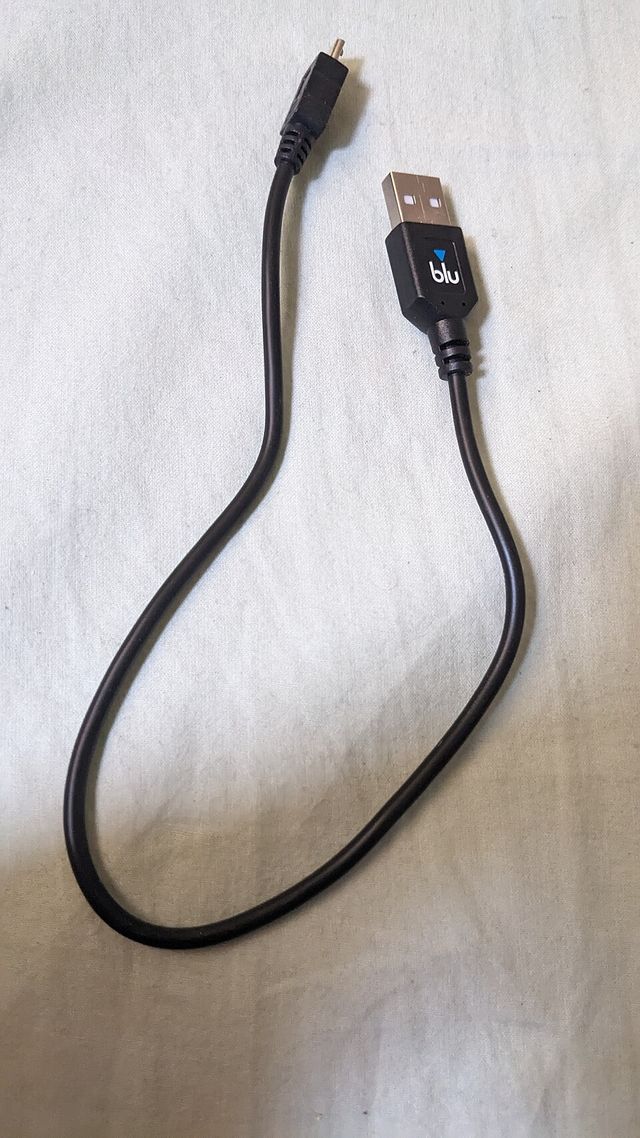 USB data cable (match your board — usually micro-USB)×1
Plus a battery — see Battery options.
RC
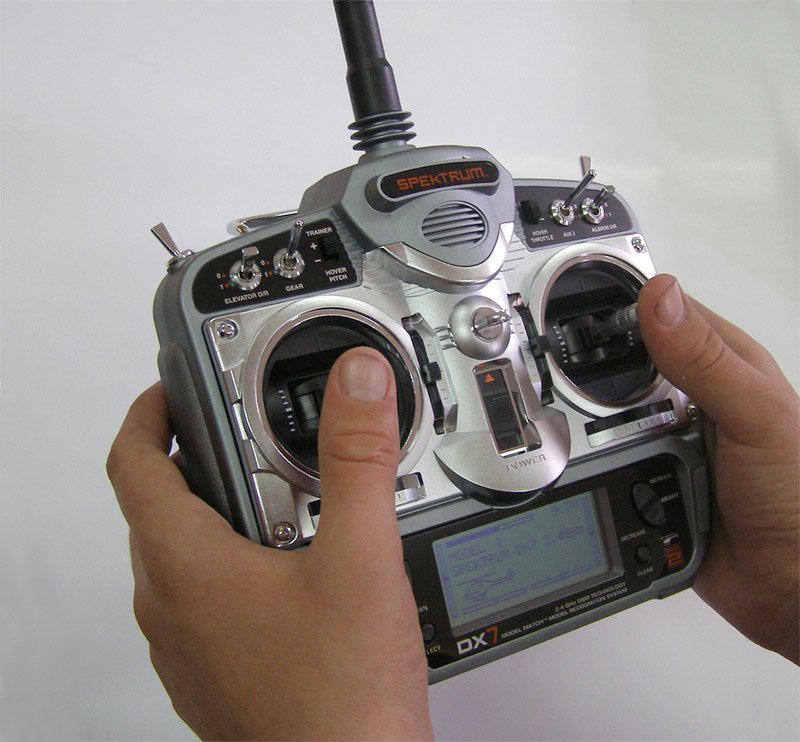
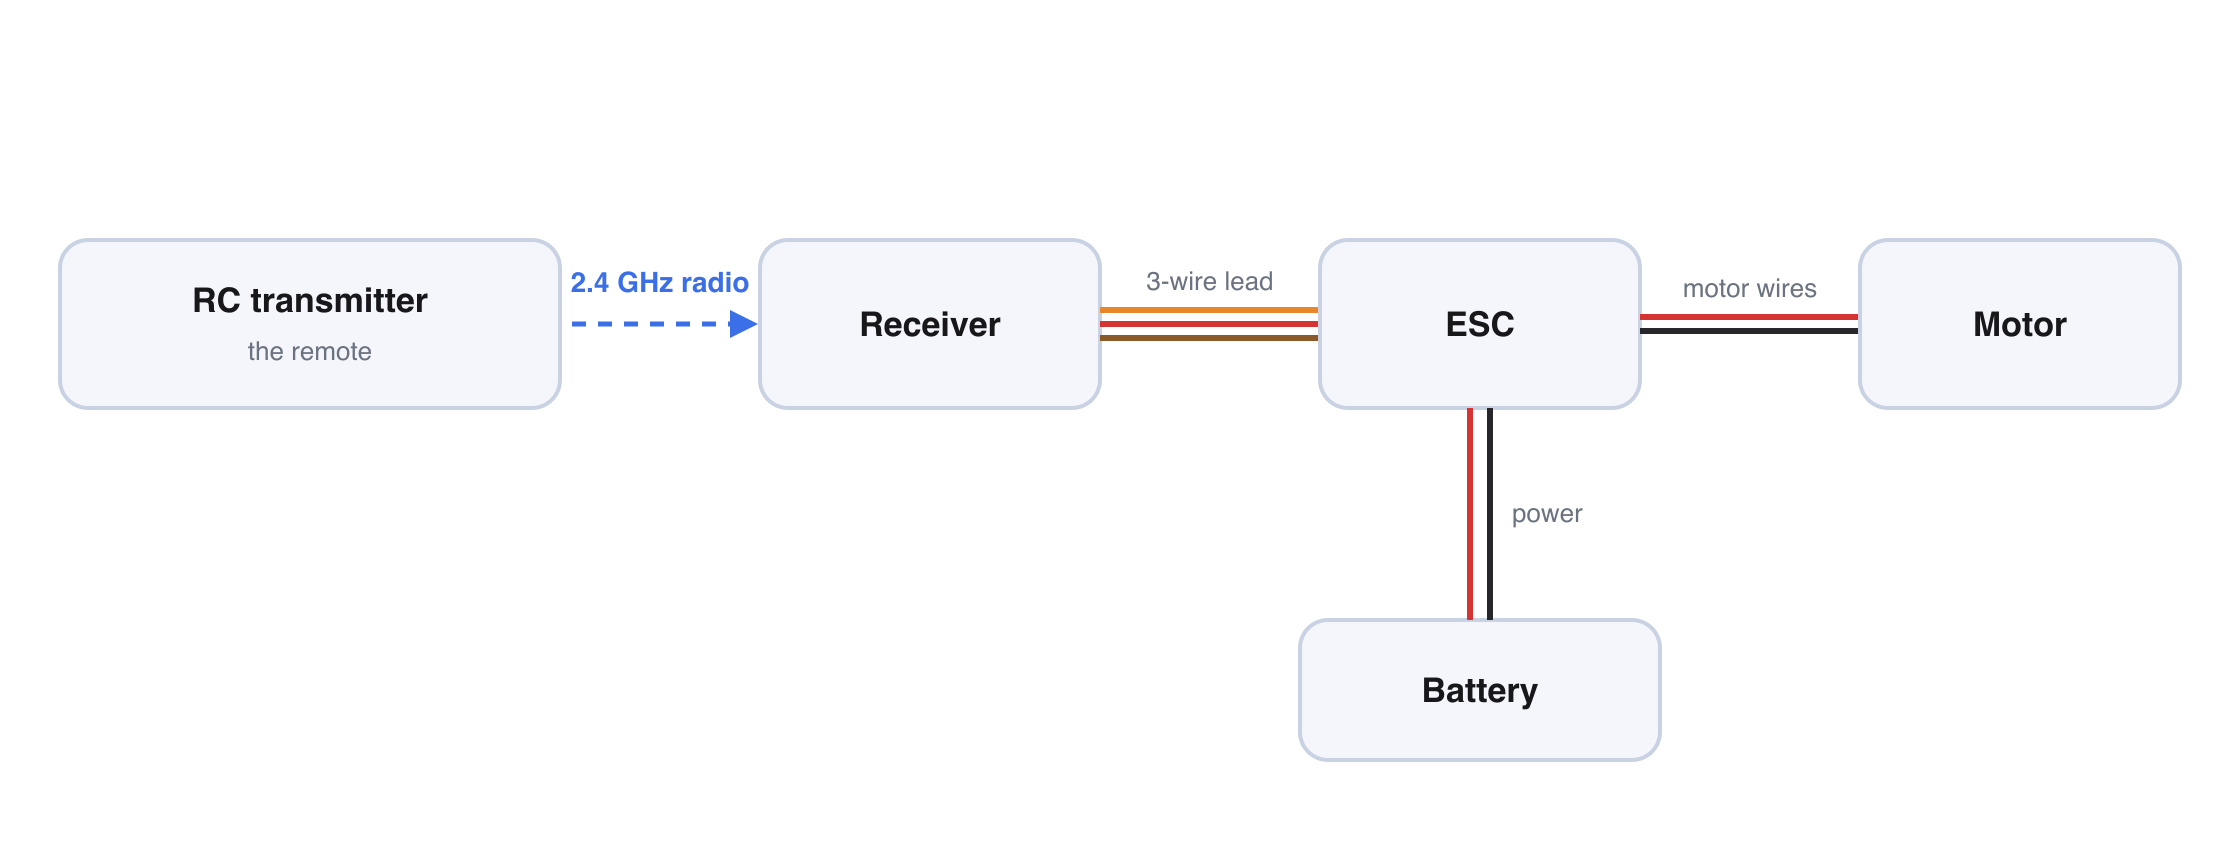
The no-code option: pure hobby radio gear, the same electronics inside an RC car. The transmitter radios your stick movements to a receiver on the robot, and an ESC (electronic speed controller) turns them into motor power. Nothing to program — the behavior is wired in.
| ✅ Pros | ❌ Cons |
|---|---|
| Zero programming | No code means no autonomous mode |
| Rock-solid, low-latency driving | Priciest of the three up front |
| Fastest path to driving around | You learn driving, not programming |
Parts list
Transmitter + receiver combo×1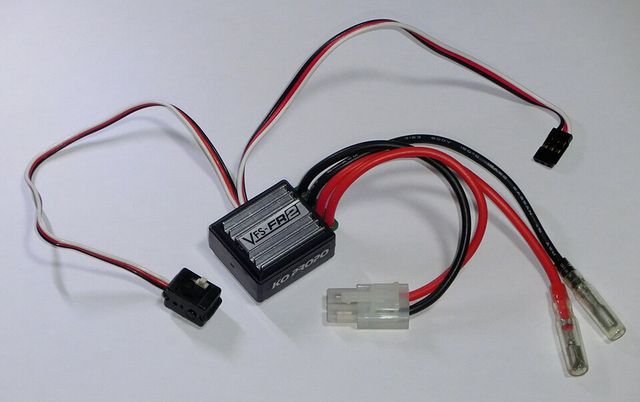 Brushed ESC×1–2
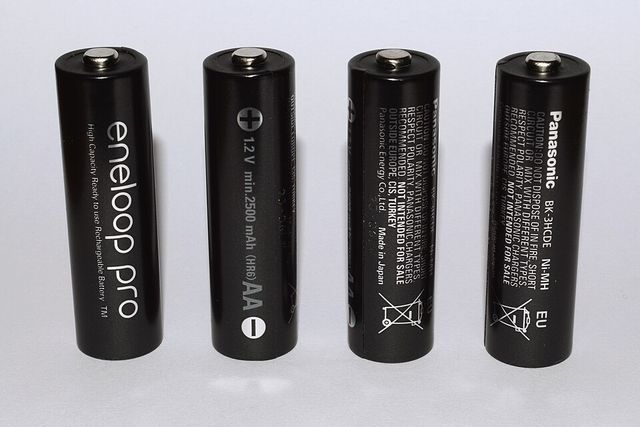 AAs for the transmitter (not included with it!)×4
Plus a battery for the robot — see Battery options.
Which should you pick?
It's mostly preference — all three can drive a competitive robot. That said:
- We recommend the Alfredo NoU3. It's the best balance: no soldering, real code, and driving works out of the box.
- Coming from combat robotics? You'll feel right at home with RC — it's the same radio gear you already know.
- Want to learn the most? Solder yourself teaches more electronics than the other two combined.
Whichever you choose, your next stop is the same: Making a motor move.
Photos via Wikimedia Commons: ESP32 by Edwiyanto (CC BY-SA 4.0, cropped), L298N by Quel.soler (CC BY-SA 4.0, cropped), micro-USB cable by Donald Trung (CC BY-SA 4.0), AA cells by Multicherry (CC BY-SA 4.0); transmitter public domain; perfboard, soldering iron, USB-C cable, and ESC are CC0. NoU3 render courtesy of Alfredo Systems.